I am going to build some robots, at first I will begin with a robot arm. I think those are more fun than some car riding circles on the floor.
I got this idea when I was doing some really stupid work and wondering why these jobs still exsists. Those should be replaced by robots long ago.
The technology is far beyond that point . Maybe economics, availabillty and installation are the problems now.
I got this dream about 2 robot arms besides my monitor, USB connection, pneumatic driven, being able to do different things by themselves. That would be cool.
1) need info
2) function list
3) mechanical design
4) electric design
5) software design
some links dutch fischer technik importer official fischer technik site
I think I will start with an easy one, small weak and noisy LEGO or Fischer Technik arm. connected to parallel port.
My end goal is a large, strong and silent freely moveable arm. With a good software interface.
mechanical construction
Day 1
I have taken my old lego box from the attic There is not much technic lego left, or I never had much.
Wanted to buy extra parts, but lego doesn't seem to supply those things anymore.
So I switched to fisher technik, it seems that I had much more Fisher technik than I thought.
Now it's time to play a bit with fisher technic and try to make a small Robot arm. Later on, I can bould a larger (more difficult) version of it.
Here are some results:
the parallel port computer interface
I already have done a lot with the parallel port, Anyway, here we go again.
At first I found a cable which had the following connectors and pinouts:
25-pol Sub-D connector pin number:
9-pol Sub-D connetor pin number:
Function
25,24,23,22
1
GND
2
9
Data out 1
3
8
Data out 2
4
7
Data out 3
5
6
Data out 4
10
2
Data in 1
11
3
Data in 2
12
4
Data in 3
13
5
Data in 4
First I will build a testbed with 4 switches and 4 leds, just to see if the software works.
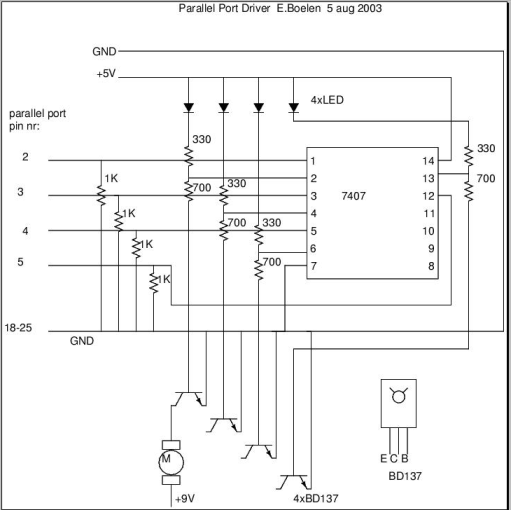
After that I will build a buffer / power board. The engines operate at 9V and can use up to 250mA. therefore I will use BD137 transistors.
After some testing, the following schematic came out
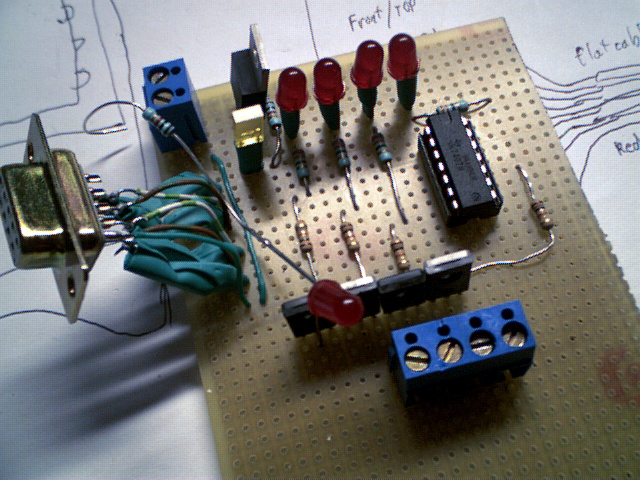
The final board looks like this:
software
At first, I wrote an ugly test routine, but it uses ncurses library, no more enter pressing.
You can view the source code here
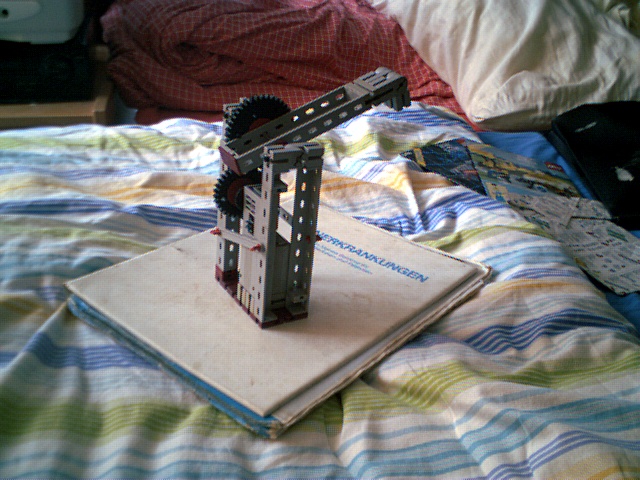
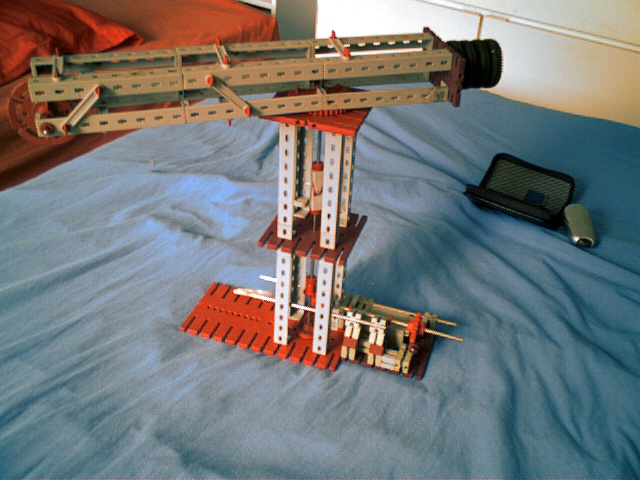
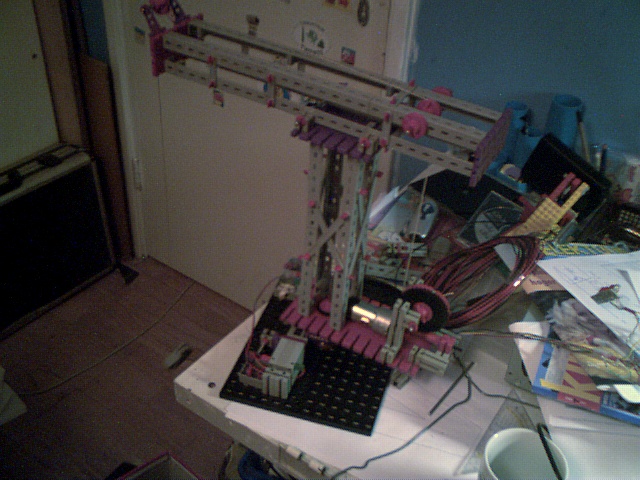
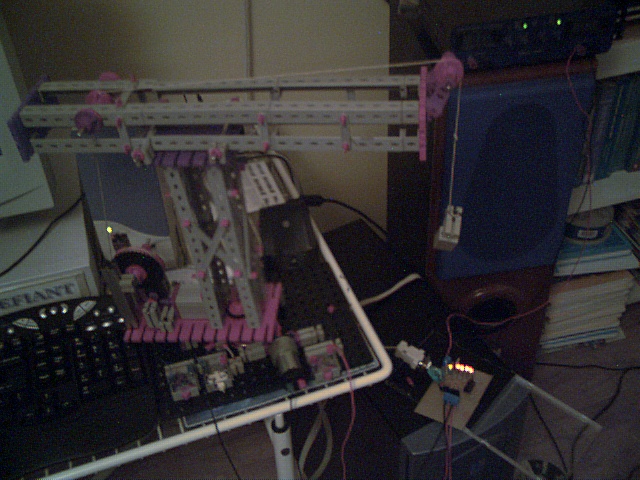
some images:
You can see that this is a crane; well, this is robot arm v0.1 and it's pretty difficult to construct a solid arm which can lift things, so I first test the whole system with a much easier object.